Cybersecurity plays a pivotal role as organizations navigate the complexities of transmitting sensitive data across networks. With cyberattacks on the rise, protecting valuable information has become paramount.
One of the most prevalent cyber threats is ransomware, which poses a significant risk to businesses worldwide. As a result, implementing a robust security infrastructure is essential. This includes employing multiple layers of protection across computers, programs, and networks.
One highly effective method for safeguarding valuable information is using air-gapped testing labs. These labs create a physical and digital barrier between sensitive systems and the internet, reducing the risk of cyber intrusion. However, the question remains: is this method secure enough in today’s evolving cyber threat landscape?
Understanding Air Gaps and Their Importance in Business
In an increasingly digital world, air-gapped backups have emerged as a critical safeguard against data loss. The air gap testing lab serves as a final defense, ensuring that data remains protected from destruction, unauthorized access, or manipulation in the face of network breaches or system failures.
Critical Aspects of Air-gapped Backups
- Secure Storage: Air gap backups are typically stored in secure, off-site locations, such as secure server facilities, to prevent unauthorized access.
- Disaster Recovery: These backups are essential for restoring data after fires, floods, or cyberattacks.
- Regular Updates: To ensure their effectiveness, air gap backups should be updated regularly, typically daily or weekly.
- Periodic Testing: Regular software testing is necessary to confirm that air gap backups can restore data in emergencies.
- Data Encryption: Air gap backups should undergo encryption to protect sensitive information to deter unauthorized access.
While implementing air gap backups can pose challenges for businesses, such as the need for heightened security and meticulous planning, they provide a crucial layer of protection against various forms of data loss. They are indispensable tools for aiding businesses in recovering from diverse disaster recovery scenarios.
Types of Air Gaps in Air-gapped Testing Labs
Air-gapped testing labs utilize various air gaps, each with unique characteristics and applications. Here’s an overview of the different types:
- Physical Air Gaps: This is the gold standard of isolation, involving complete physical separation from other networks. With no internet, LAN, or Wi-Fi connections, physical air gaps are ideal for securing critical systems in sensitive sectors like military or industrial control systems.
- Logical Air Gaps: These use software measures such as firewalls and access controls to create a barrier. While not physically disconnected, logical air gaps are safeguarded through technology, balancing security with connectivity needs.
- Operational Air Gaps: Relying on procedures and human actions, operational air gaps limit network connections to essential instances, such as backups. This method is practical for protecting critical operations focusing on human oversight.
- Virtual Air Gaps: Utilizing virtualization, these isolate systems within the same physical hardware. Although connected, virtual instances are shielded from each other, preventing unauthorized access and malware spread. Virtual air gaps are ideal for cloud and data center environments where physical and operational isolation is challenging.
Virtual air gaps, distinct in simulating isolation within a connected setup, offer security with flexibility. This approach is valuable in environments where traditional air gaps are impractical, blending protection with the advantages of network connectivity.
Benefits of Air-gapped Testing Labs
Air-gapped testing labs offer several significant advantages:
- Protection Against Cyber Threats: Air-gapped backups provide a high level of security by being physically disconnected from the main system. This isolation ensures that backup data remains unaffected by malware or ransomware attacks, making it an effective strategy against sophisticated cyber threats.
- Data Integrity: Air-gapped backups protect against data corruption caused by hardware issues or software glitches in the primary system. The integrity of the backup remains intact, allowing for reliable data recovery.
- Regulatory Compliance: Many industries have stringent regulations requiring secure data backups. Air-gapped backups help meet these regulatory requirements by offering a demonstrable level of data protection, providing an additional layer of assurance.
- Safeguard Against Accidental Changes: Air-gapped backups protect against accidental deletions or modifications. Since the backup data is disconnected and stored separately, it remains safe even if files are accidentally deleted or altered on the primary system.
Challenges to Air-gapped Testing Labs
● Erosion of Air Gap Concept:
Contemporary cybersecurity discourse questions the efficacy of air-gapped systems due to the pervasive nature of Internet connectivity. Despite claims of physical isolation, many supposedly air-gapped systems may unknowingly maintain internet connections, undermining the concept’s integrity.
● Unforeseen Network Connections:
Organizations often uncover previously unknown network-connected devices when conducting comprehensive device scans. Wireless connections further complicate air gap implementation, potentially creating inadvertent avenues for data exchange despite physical separation.
● Emergence of Wireless Threats:
Sophisticated wireless “sniffing” technologies enable hackers to intercept data from ostensibly isolated systems, exploiting vulnerabilities that transcend physical barriers, thereby challenging the security paradigm of air-gapped environments.
Complexities of Maintaining Air-gapped Testing Labs
● Human-Centric Vulnerabilities:
Establishing and upholding air-gapped systems pose considerable challenges, exacerbated by both accidental connections and deliberate infiltration attempts by sophisticated adversaries. Despite efforts to physically isolate systems, the necessity for user interaction often introduces vulnerabilities.
● Risk of Human Error:
Commonly reliant on manual data transfer methods like USB drives or Wi-Fi dongles, air-gapped setups are susceptible to lapses in security due to human negligence or oversight. Even well-intentioned users may inadvertently compromise system integrity by failing to adhere to stringent security protocols.
● Exploitation of Supply Chain:
Sophisticated supply chain attacks can circumvent air-gapped defenses through compromised software updates, as evidenced by the Stuxnet incident targeting an Iranian nuclear facility. This highlights the potential for adversaries to breach supposedly isolated environments indirectly.
● Social Engineering and Insider Threats:
Adversaries adept at social engineering techniques or insiders with malicious intent can exploit human vulnerabilities to gain physical access to air-gapped environments. This underscores the significance of effective security measures, including data encryption at rest, to mitigate risks associated with external and internal threats.
Setting Up an Air-gapped Testing Lab
● Utilizing Managed Cloud Vaults:
A straightforward approach to establishing an air-gapped network involves opting for an as-a-service solution. This method facilitates efficient data protection and rapid restoration capabilities in response to threats such as ransomware attacks or insider breaches.
● Enhancing Cyber Resiliency:
Organizations can bolster their cyber resiliency by leveraging virtual air gaps within managed cloud vaults. This strategy entails storing an immutable copy of critical data in a secure cloud environment, ensuring its integrity and accessibility even in the face of potential disasters.
● Streamlined Data Recovery:
Data safeguarded through this method can be swiftly and seamlessly restored to its source or alternative locations as necessary. This streamlined recovery process enhances operational continuity and minimizes downtime during data loss or system compromise.
Implementing Air Gapping in Cloud Environments
Definition and Purpose:
Air gapping in the cloud involves physically isolating cloud-based data or systems from external networks, including the public internet. This practice enhances security by minimizing exposure to potential threats.
Methods of Implementation:
1. Dedicated Cloud Infrastructure:
Utilize dedicated cloud infrastructure isolated from public networks. This can be achieved through private cloud deployment or configuring public cloud services to use segregated networks.
2. Access Controls:
Employ access controls to limit entry to cloud-based systems. Measures include firewall configurations, network security groups, and role-based access controls to effectively manage data and system access.
3. Encryption:
Implement robust encryption protocols for cloud-based data protection at rest and during transmission. Secure communication protocols ensure data integrity between cloud systems.
4. Regular Audits and Testing:
Conduct routine audits and testing to validate the effectiveness of air gapping controls. Identifying vulnerabilities and weaknesses allows for prompt remediation and continuous improvement.
Challenges and Considerations:
While air gapping in the cloud heightens security, it introduces complexities and cost implications. Organizations must weigh the benefits against these challenges. Additionally, supplementing air gapping with other security measures, like access controls and encryption, is vital to ensuring comprehensive protection of cloud-based data and systems.
Selecting a Hyper-converged Solution for Your Air-gapped Testing Lab
In an air-gapped testing lab, if you’re considering a hyper-converged infrastructure solution, here are some key factors to consider:
- Scalability: Ensure the solution can seamlessly scale to meet the needs of your air-gapped testing environment, allowing for the addition of computing, storage, and networking resources without disruption.
- Performance: Prioritize solutions with high-performance storage and compute capabilities to support critical testing applications and workloads, including low-latency storage access and fast networking.
- Management and Automation: Look for solutions with easy-to-use management interfaces and robust automation features. A unified management platform streamlines operations, allowing you to oversee all resources within your air-gapped testing lab efficiently.
- Data Protection and Availability: Choose solutions with comprehensive data protection and high availability features, including backup, recovery, disaster recovery, and redundancy mechanisms, which are crucial for safeguarding testing data and ensuring uninterrupted access.
- Security: Prioritize solutions with strong security features, including encryption, access controls, and monitoring tools, essential for maintaining the security and integrity of sensitive testing data and applications within your air-gapped environment.
- Cost-Effectiveness: Seek solutions that offer a cost-effective pricing model tailored to the needs of your air-gapped testing lab. Look for flexibility in pricing options and support for open-source software to optimize costs while meeting performance and scalability requirements.
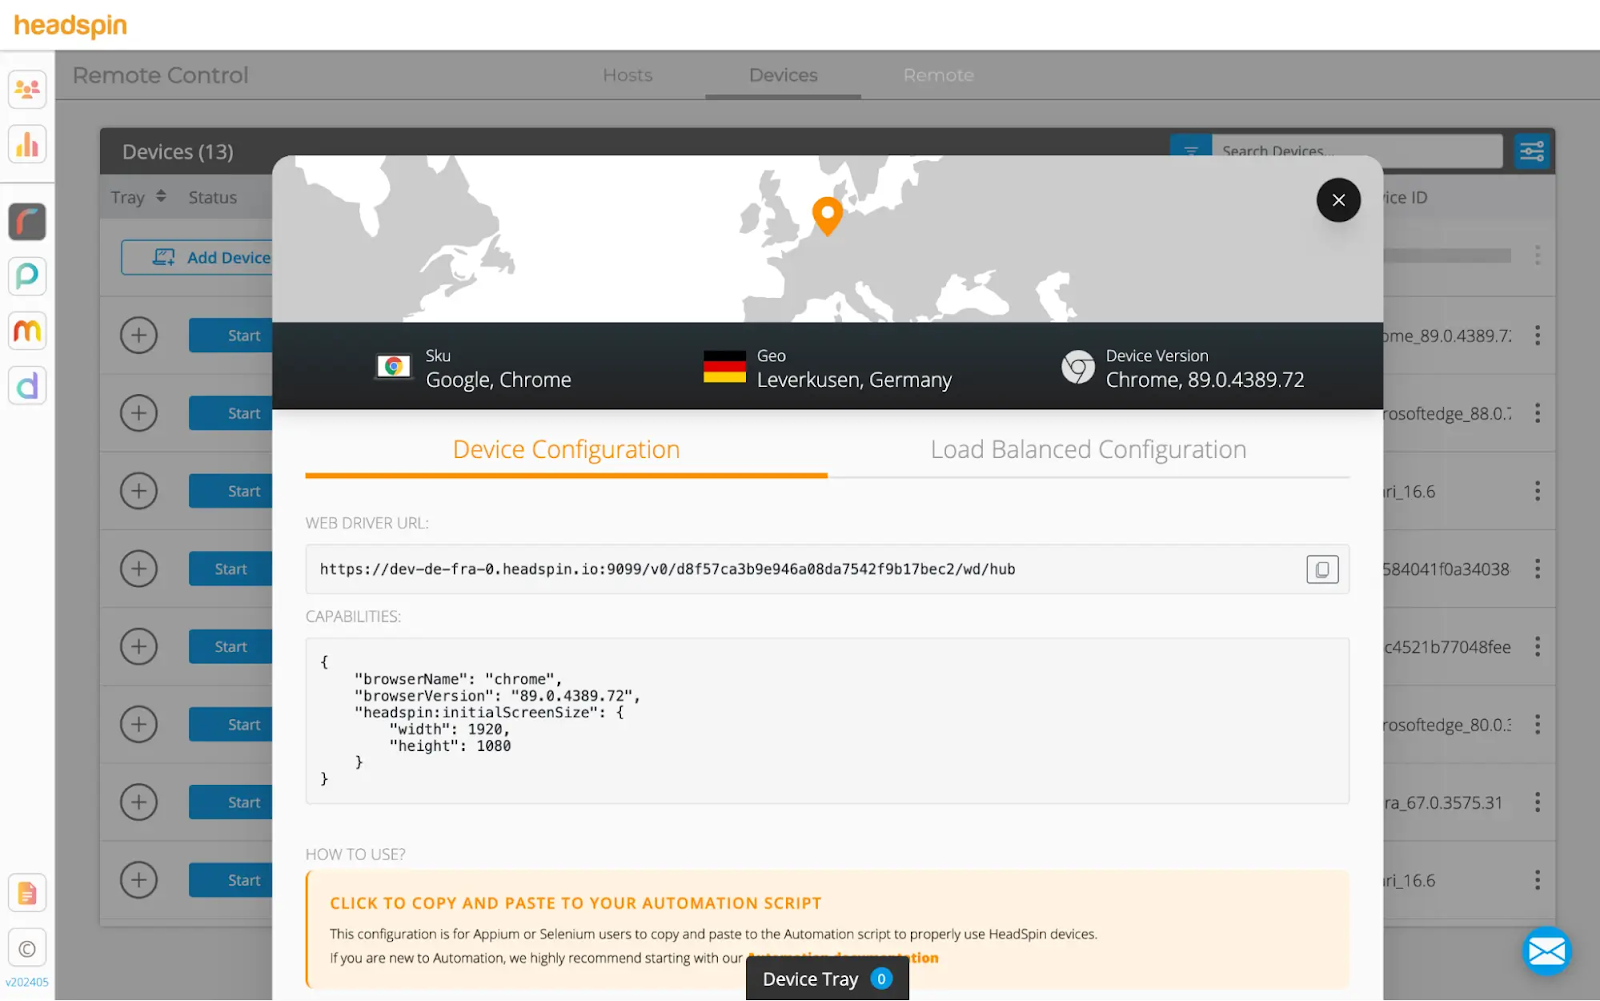
Elevating Quality Assurance in the Air-gapped Testing Lab with HeadSpin’s Capabilities
1. On-Premise Deployment:
- Isolated Testing Environment: HeadSpin offers an air-gapped deployment model, ensuring complete isolation of the testing environment. This safeguards sensitive testing data, which is crucial for applications like banking apps.
- Unified Controller: Deployed on-premises, the unified controller hosts the user interface and data, ensuring high security and compliance with regulatory requirements.
2. Security and Privacy:
- Isolated Network: HeadSpin guarantees that no external traffic can access the testing environment, preserving sensitive data from external threats.
- Controlled Remote Access: Users can toggle remote access through a VPN tunnel for upgrades and debugging, maintaining strict control over the testing environment.
3. Comprehensive Testing Capabilities:
- Real Device Testing: HeadSpin’s PBox accommodates various real devices, enabling testing under real-world conditions for accurate performance insights.
- Functional and Performance Testing: The platform supports functional and performance testing to ensure app behavior and assess speed, responsiveness, and stability.
4. Advanced Analytics:
- Data-Driven Insights: Leveraging AI and ML, HeadSpin provides detailed performance and quality analytics, aiding bottleneck identification and improvement areas.
- Customizable Reports: Generate comprehensive reports tailored to banking industry needs, including compliance and regulatory reports.
5. Ease of Integration:
- Reverse Bridge Technology: HeadSpin’s reverse bridge technology facilitates connecting its own devices to the HeadSpin Cloud via local machines, enhancing flexibility.
- API Integration: Seamlessly integrate with CI/CD tools for automated testing workflows and continuous delivery pipelines.
6. Scalability and Flexibility:
- Scalable Infrastructure: HeadSpin’s infrastructure caters to testing needs, whether a few devices or scaling up to hundreds.
- Customizable Deployment: Tailor deployment models to specific organizational requirements, be it single-tenant, multi-tenant, or on-premise setup.
Benefits of Banking App Testing:
- Enhanced Security: The air-gapped model ensures security and compliance with industry regulations, safeguarding sensitive financial data.
- Accurate Testing: HeadSpin’s global device infrastructure provides insights into app performance in real-world scenarios.
- Regulatory Compliance: Detailed reports aid in meeting banking sector regulatory and compliance standards.
- Reduced Risk: Isolated environments mitigate the risk of data breaches, ensuring testing does not disrupt live operations.
By leveraging HeadSpin’s air-gapped deployment model, banks and financial institutions guarantee secure, compliant, and optimal application performance, delivering a seamless customer experience.
Final Considerations
Despite its inherent challenges and potential pitfalls, the air gap remains a crucial defense against data loss. While incorporating air-gapping into your data backup and recovery strategy is advisable, it’s essential to recognize that it alone may not provide complete protection.
Before implementing an air-gapped network, carefully evaluate whether your business requires it as a security measure. Additionally, air-gapping can be supplemented with other robust security measures to enhance overall protection.
HeadSpin provides a software testing tool with an air-gapped deployment option that caters to various needs, including those specific to banking apps. This deployment model, available through HeadSpin On-Prem, involves deploying PBox devices within an isolated network managed by the user. In this setup, the unified controller hosting user interface and data resides on-premises on a blade server, ensuring no traffic exits the isolated network. Users retain control over remote access through a VPN tunnel for necessary updates and support.
Article Source:
This article was originally published on:
https://www.headspin.io/blog/a-deep-dive-into-air-gapped-testing-labs