Skateboarding is not just a sport; it’s a lifestyle embraced by millions worldwide. However, the thrill of skateboarding can often be marred by discomfort and pain, especially in the feet. Whether you’re a beginner or a seasoned pro, the right gear is essential for maximizing enjoyment and performance on the board. In this guide, we will tell you into the world of skateboard insoles exploring how they can alleviate pain, enhance comfort, and elevate your skateboarding experience to new heights.
Skateboarding places significant strain on the feet, as riders constantly absorb impact and execute precise movements. Without adequate support, this can lead to a range of foot-related issues, including arch pain, heel bruising, and plantar fasciitis. Skateboard insoles serve as a crucial barrier between your feet and the board, offering cushioning, support, and shock absorption to minimize discomfort and prevent injuries.
Choosing the Right Skateboard Insoles
When selecting skateboard insoles, it’s essential to consider factors such as material, thickness, and arch support to match your specific needs and riding style. Gel-based insoles are popular for their superior cushioning properties, while foam insoles provide lightweight support and flexibility. Additionally, look for insoles with adequate arch support to maintain proper foot alignment and reduce strain during skateboarding maneuvers.
Alleviating Pain and Discomfort
One of the primary benefits of skateboard insoles is their ability to alleviate pain and discomfort associated with skateboarding. Whether you’re battling sore heels, achy arches, or bruised metatarsals, the right insoles can provide targeted relief by absorbing shock and distributing pressure evenly across the foot. This allows you to skate longer and harder without suffering the consequences of foot fatigue and strain.
Enhancing Stability and Balance
Skateboarding requires precise balance and stability to execute tricks and maneuvers with confidence. Ill-fitting or inadequate footwear can compromise your stability on the board, increasing the risk of falls and injuries. Skateboard insoles help stabilize the foot within the shoe, reducing unwanted movement and enhancing overall balance. This not only improves performance but also boosts confidence, allowing you to push your limits without fear of instability.
Preventing Injuries
Injuries are an unfortunate reality of skateboarding, with foot and ankle injuries being among the most common. By providing cushioning and support, skateboard insoles help mitigate the impact of landings and reduce the strain on vulnerable areas of the foot. This proactive approach to injury prevention can save you from painful setbacks and downtime, allowing you to stay on the board and continue progressing without interruption.
Maximizing Comfort for Extended Sessions
Skateboarding is as much about the journey as it is about the destination, with many riders spending hours perfecting their skills and exploring new terrain. However, prolonged skate sessions can take a toll on your feet, leading to discomfort and fatigue that detract from the experience. Skateboard insoles act as a buffer against the rigors of skateboarding, providing plush cushioning and support to keep your feet feeling fresh and comfortable, even during marathon sessions.
Customizing Your Ride
Every skater is unique, with individual preferences and requirements when it comes to footwear and equipment. Fortunately, many skateboard insoles are customizable, allowing you to trim them to fit your shoes perfectly. This ensures a snug and secure fit that minimizes slippage and maximizes the effectiveness of the insoles. Additionally, some brands offer specialized insoles designed for specific foot conditions, such as high arches or pronation, allowing you to tailor your ride to your precise needs.
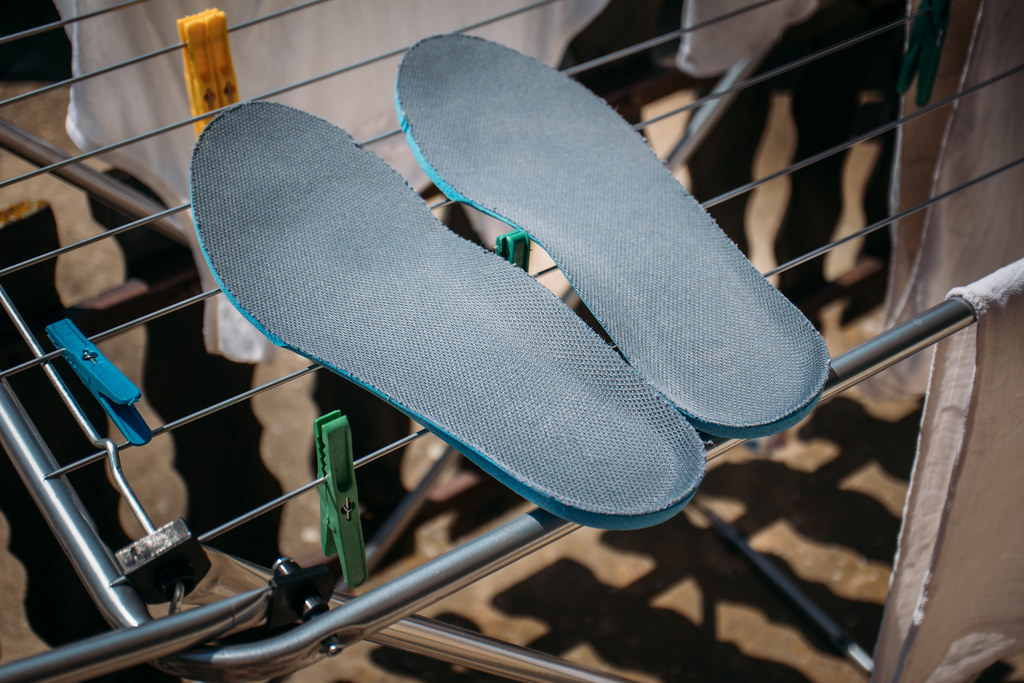
Maintaining Insole Hygiene
Like any piece of athletic equipment, skateboard insoles require regular maintenance to ensure optimal performance and hygiene. To prevent odors and bacterial buildup, remove the insoles from your shoes after each skate session and allow them to air out completely. You can also sprinkle them with baking soda or use antimicrobial sprays to neutralize odors and kill germs. Additionally, if your insoles for skateboarding become visibly dirty or worn, consider washing them by hand with mild soap and water and allowing them to dry thoroughly before reinserting them into your shoes.
Skateboarding is a thrilling and dynamic activity that offers endless opportunities for creativity and self-expression. However, the journey to mastering this sport can be fraught with discomfort and pain, particularly in the feet. Skateboard insoles provide a simple yet effective solution to these challenges, offering cushioning, support, and stability to enhance comfort and performance on the board. By choosing the right insoles and incorporating them into your skate setup, you can unlock the full potential of your riding experience and skate pain-free for years to come.